
 |
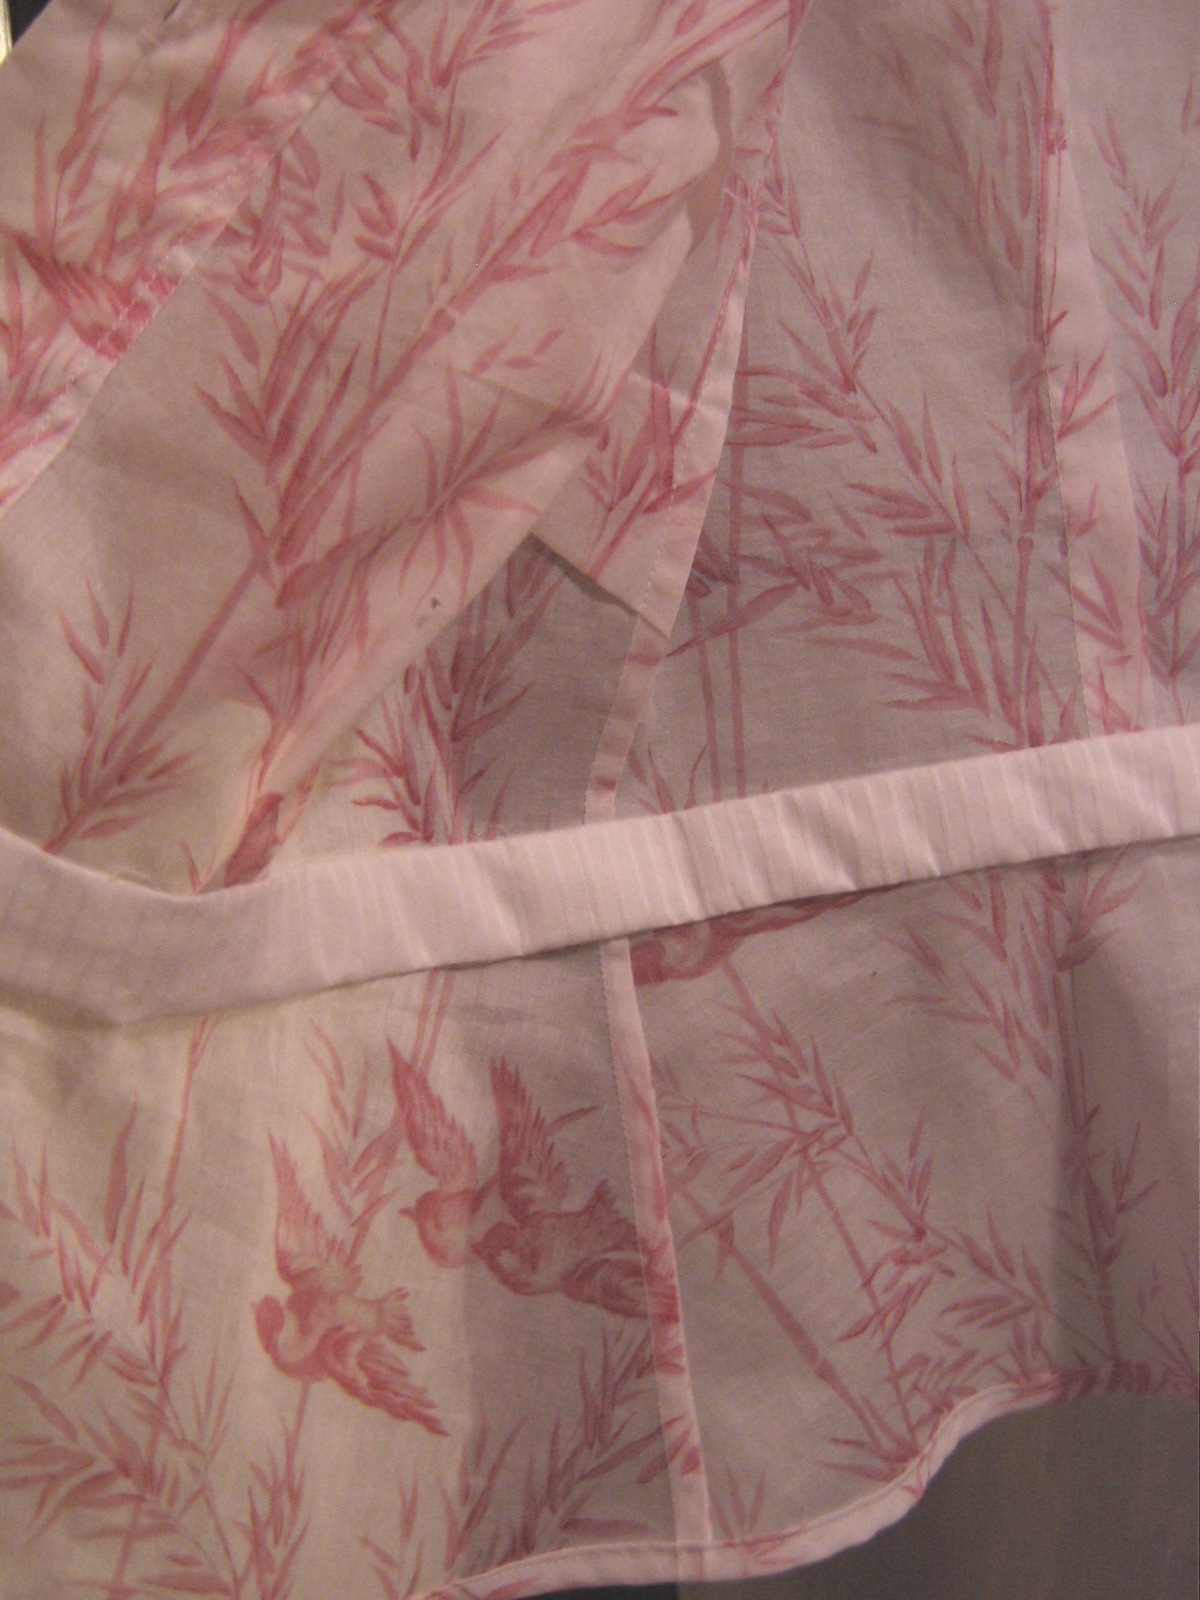
| Pink finch and linnet bird? Maybe not. |
I used this beautiful cotton voile that I purchased at Mill End Store last summer. It kills me that I don't have this fabric to make something for myself anymore, because I was in love with this material. It's so light and airy that it's perfect for summer. I think I saw this fabric still available earlier this winter, so I think I might venture back to see if I can get some more.
Here's the blouse on me.
 |
| Huh. From here, it doesn't look too bad, but trust me. I barely got it buttoned at the waist. |
I started with a size 12; however, I suspect that I should have gone up to the 14, so even though I did pattern fit this and do a slight full bust adjustment, it still didn't give me quite enough room for comfort, both physical and mental.
I think the bad fit might be a little clearer in this shot. You can really see how short this turned out on me and the gaping of the buttons. I'm not particularly long-waisted or tall, so the length (or lack of it) surprised me, especially since it doesn't look this short on the model on the pattern envelope.
 |
| Can you tell which button I neglected to do? |

So, full bust adjustment or not, the back is too small. See all the pulling? My pattern fitting did not look like this. I took photos and everything because I suspected that the back might be too small. Which brings us to . . .
Lesson #2: Measure the pattern to verify that it will not only fit you but also have the appropriate design and wearing ease, particularly when your fabric has no stretch.
-and-
Lesson #3: Don't go months without sewing wovens because stretch fabrics are easier to fit and faster to sew.
 |
| Here it is on the hanger. Isn't it pretty? |
This was my first time using a pattern that had a cup size, but I had been warned that I might want to go up to a D cup instead of my usual C. That was so right, because I still had to add a 1/2 inch FBA, and I really don't think that was because of making the wrong size. In spite of this, I loved the cup sizes because I'm always convinced that I distort bodices with my usual 1-2 inch FBA. My only issue? A smaller FBA means that you make smaller adjustments to the rest of the pattern, and if you rely on the full FBA adjustments to make other parts of the pattern large enough (like I do), you could find yourself with a garment that just doesn't work the way you expected it to. On the plus side, I do think that I've mastered the simple sleeve alteration because I did a 1 inch enlargement, and that turned out perfectly.
Lesson #4: When you do something for the first time, make sure that you really understand what you're doing before you do something permanent like cut your fashion fabric.
I thought that the instructions were fairly clear. Others who have made this pattern have mentioned that the instructions jump around, and they do, but with as many different variations in both the bodice and the sleeves, I'm not so sure that couldn't be avoided.
 |
| You can see here my coordinating waistband facing. |
Lesson #5: Read through all of the pattern instructions, no matter how boring it is. Don't just wing it.
-and-
Lesson #6: Don't dispose of your extra fabric until the project is finished just in case you forgot to cut something.

Because the fabric was so sheer, I decided to try French seams. And aren't they beautiful? They were so much easier than I thought they would be, and they do look lovely from inside and out.
peplum a good three inches. Other than that, there aren't any changes that I would make.
So, I guess the only question that remains is what do I do with my gorgeous blouse? I'm too proud of it for it to go in the donation pile, but I don't know anyone who it would fit both physically and style-wise Maybe I can frame it and hang it as art in the sewing room.
3 comments:
Lovely fabric. So sorry it did not fit as you would like. We have all been here before and you learned alot. Keep on sewing as that is the only way you will get better at fitting as well as sewing.
I really like the blouse on you. I really didn't see the fitting issues you pointed out.
Great blouse, lovely fabric.
Hi Ronniie! Thanks so much for the comment. I like the blouse, too and plan to make another one before the summer. Just one that I can eat and take a deep breath in.
Post a Comment